Salted Caramel Chocolate Cake

Wednesday, January 29, 2014


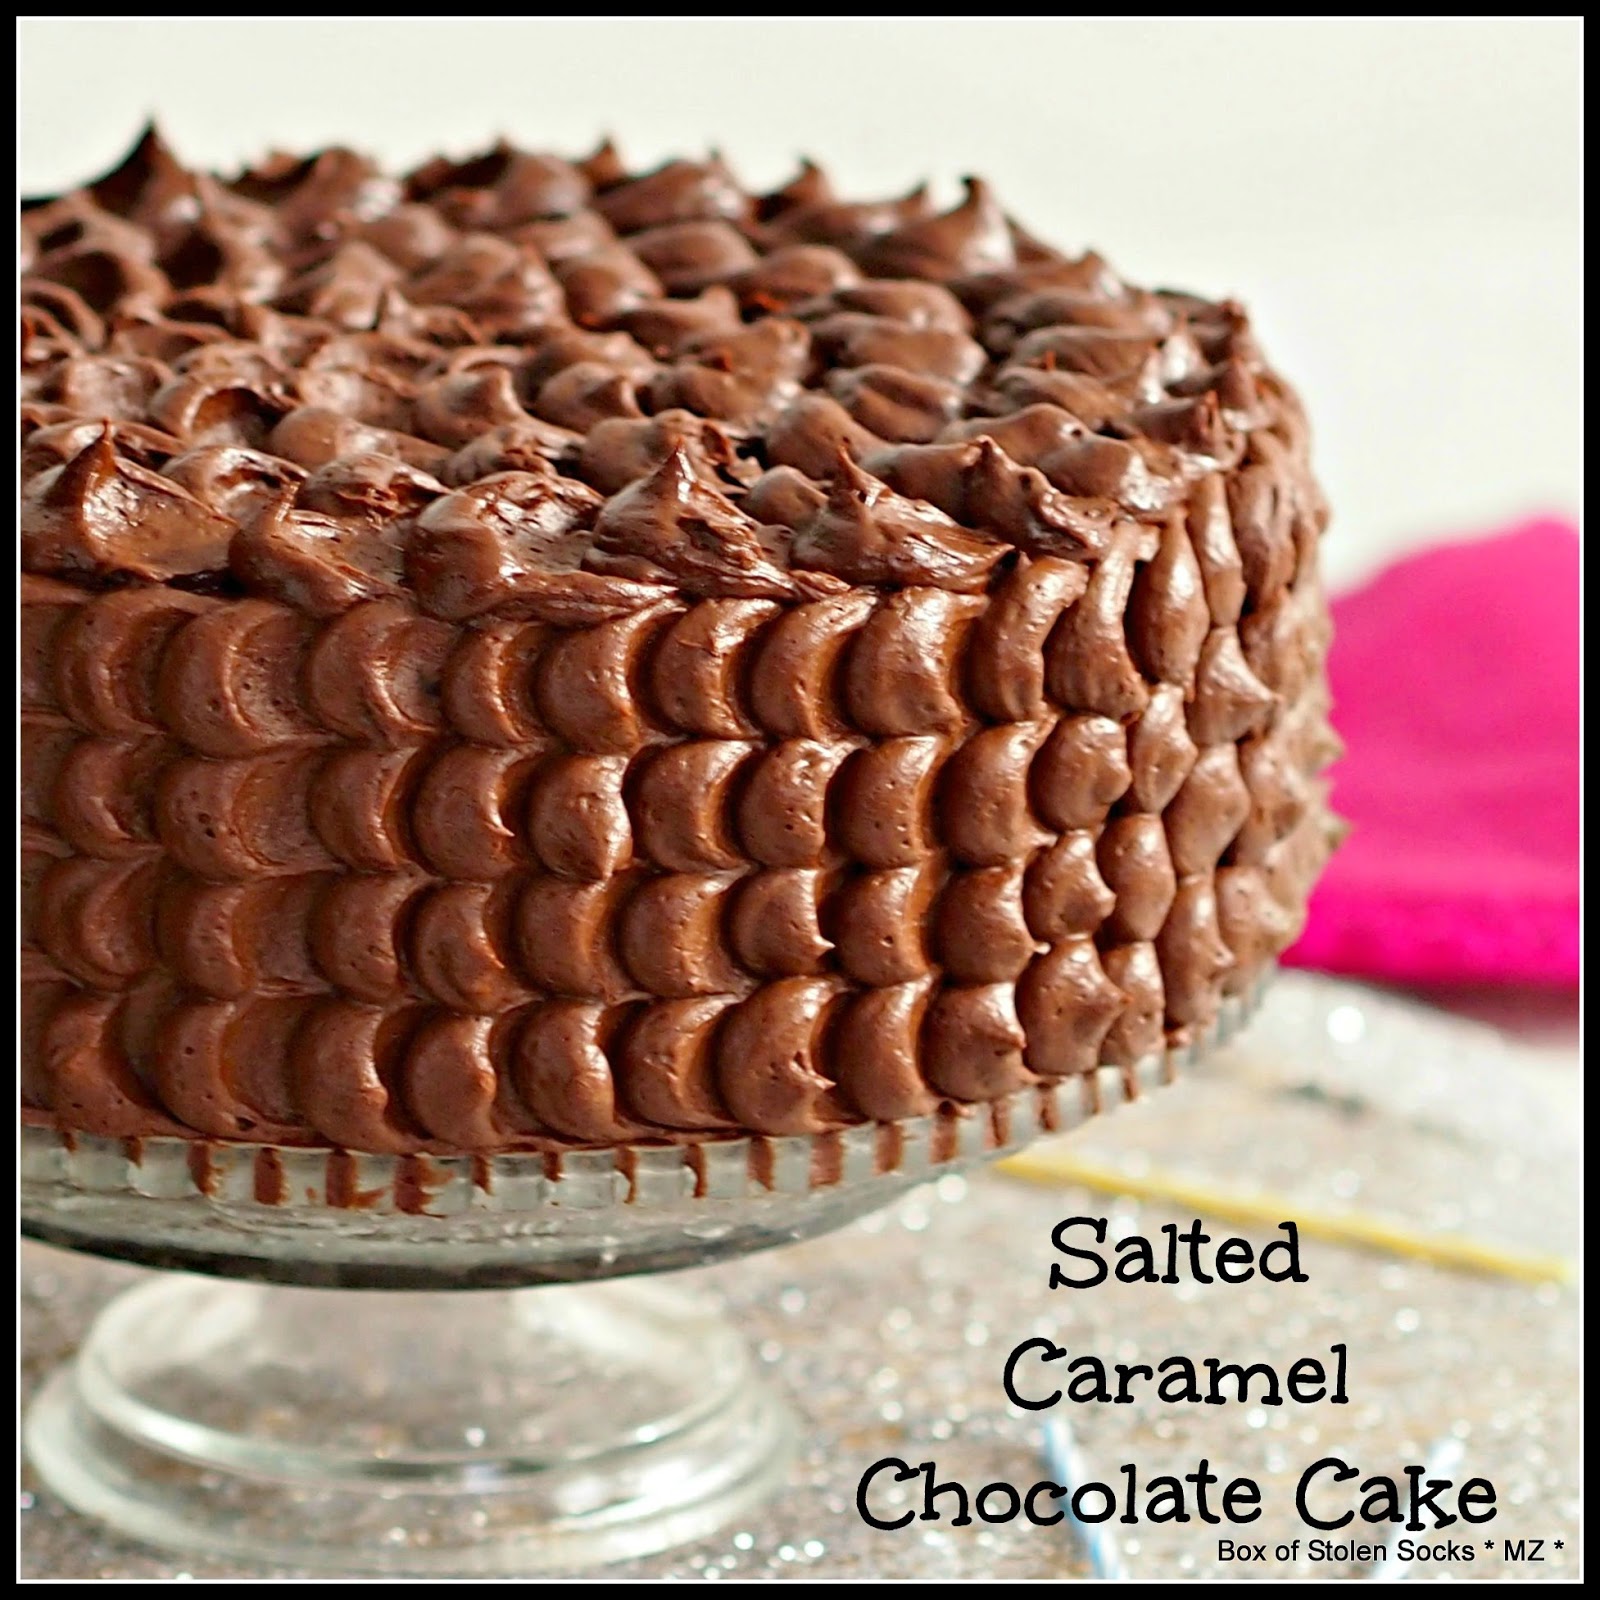
This is THE BEST birthday cake EVER... 

The most decadent, luxurious and delightful chocolate cake you've ever had! 

Turning 35 is no small deal. Don't you think?

It is not 40 but still quite a milestone.

And the best part is that I managed to get here in one piece. Even though I would so much love to be in more than one, or even two pieces; you know what I mean, those with the small fingers and cute noses..., but there is still time.

35 is the new 25!


I wanted to celebrate this birthday with a bang. A baking bang. I am not the most adventurous person in real life but in my culinary life I love me a good challenge!

I had my eyes on this super chocolate cake for a long time. 

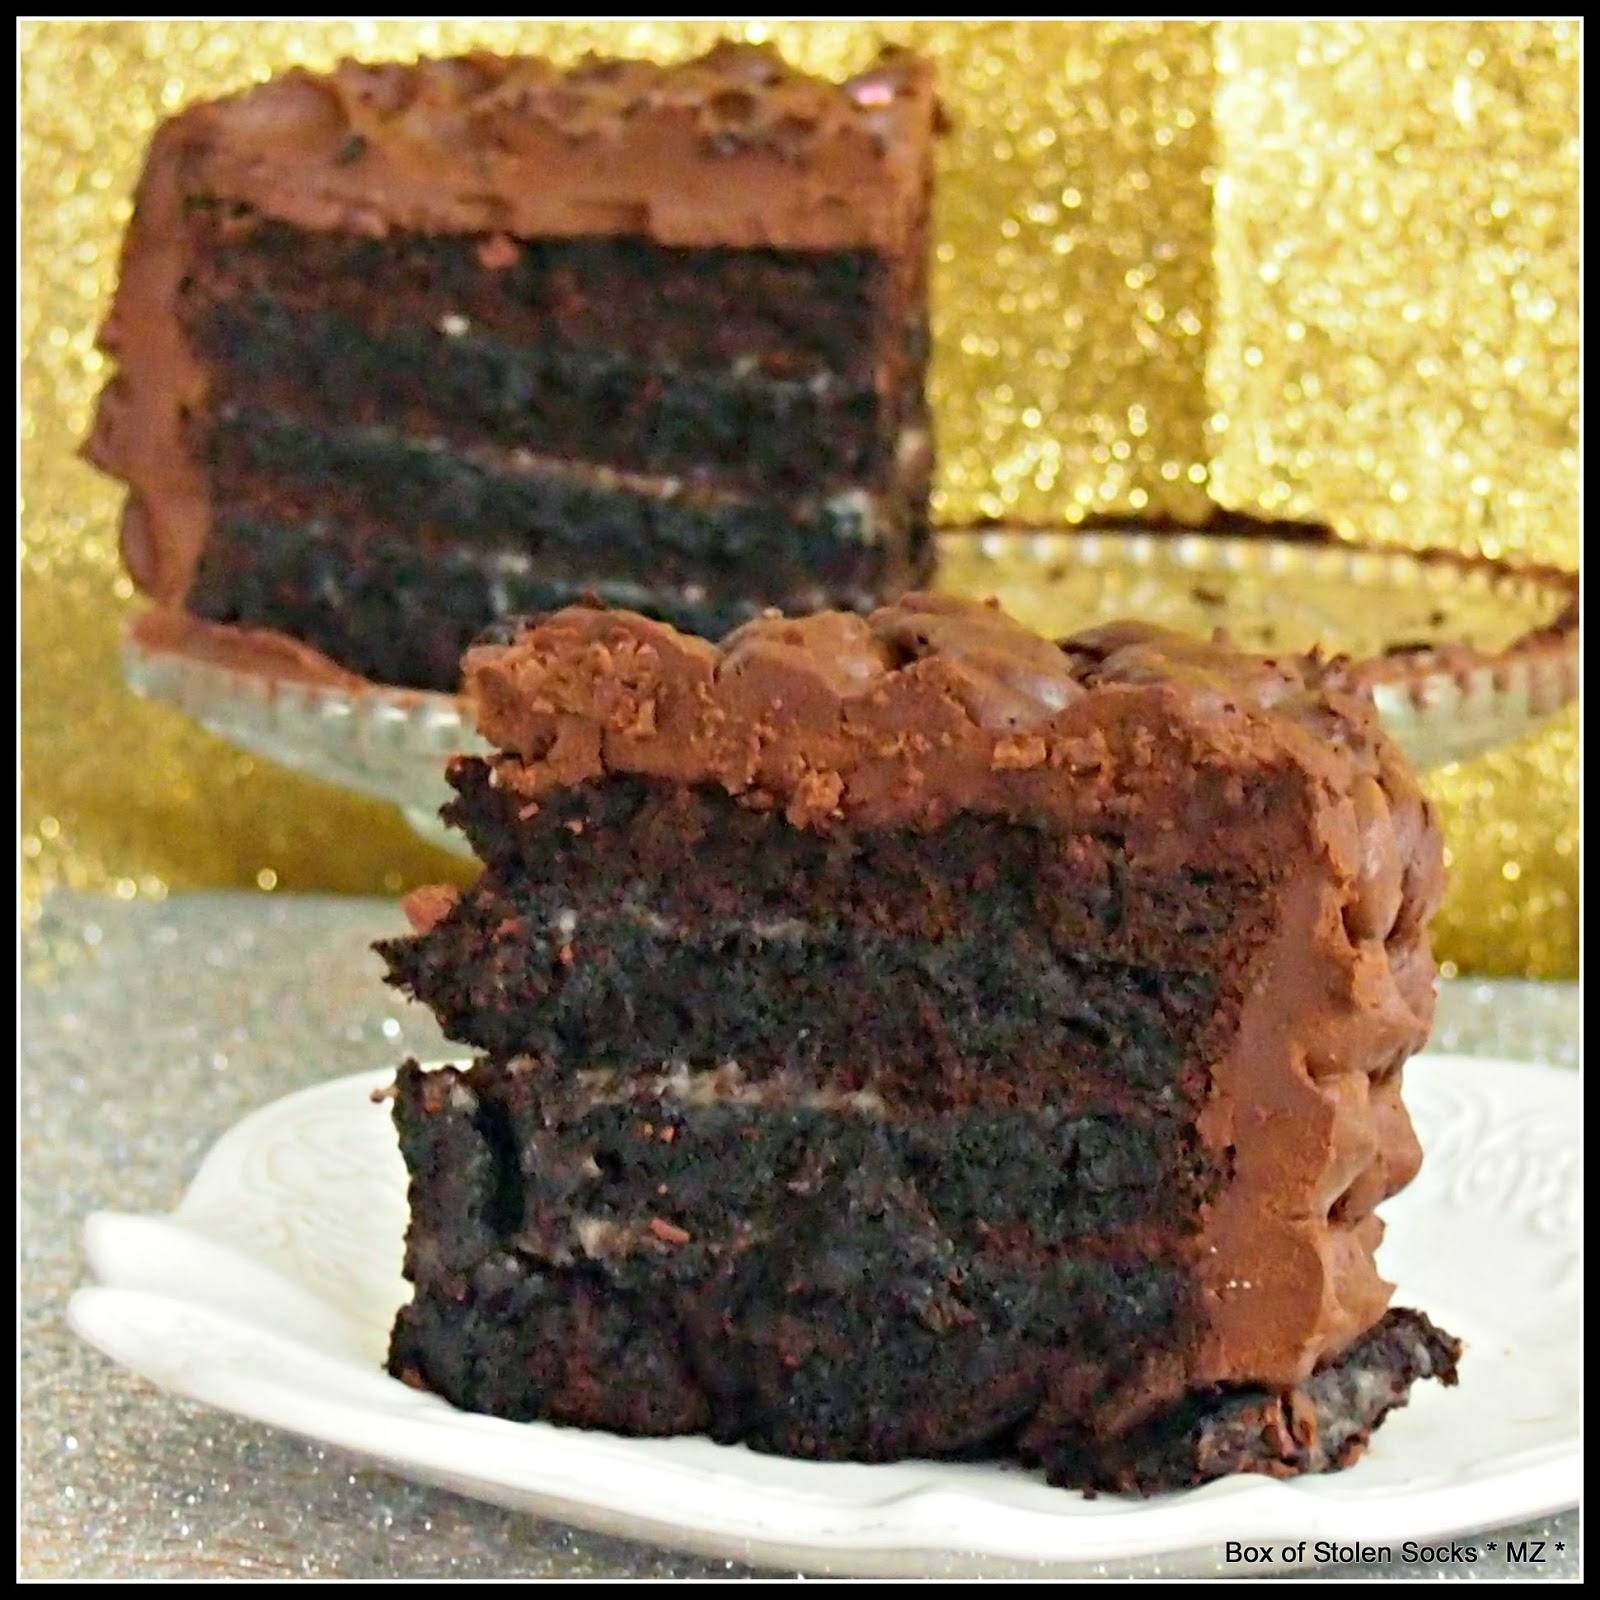
It was love at first sight when I first saw it on marthastewart.com a couple years ago. Ah, yes, definitely love at first sight. But I was not ready for it then. I was intimidated by the six layers of moist chocolate cake and rich caramel sauce. 

Now that I am older and wiser and not afraid of a chocolate cake I just had to bake it. OK, it is every chocolate lover's dream, and, yes, it is supposed to have six layers, and it is filled with milky salted caramel sauce and then frosted with rich chocolate butter cream, but it is not that difficult to make, is it?  

No, definitely no. If I could make it so could you. Just follow the instructions and pay attention to a few tips I am going to give you below.


I used this gluten free flour (a mix of potato flour, rice flour and guar gum) but you can use regular flour. In fact I made this cake twice, once with gluten free flour and then again with normal all purpose flour as per the original recipe. The recipe worked perfectly for both types of flour! The only difference was that the regular flour cake was slightly moister than the gluten free. But you kind of anticipate that something like that might happen when baking gluten free. Anyway the difference is barely noticeable as my taste tasters reported back to me.

In my part of the world we do not use buttermilk. I substituted it with a DIY buttermilk I made from mixing 1 1/2 cups of full fat milk with 1 1/2 tablespoons of white wine vinegar. I let it stand for 15 minutes. It is ready to use when the milk splits and thick white blobs form on its surface.

Before you put your cake pans in the oven, be sure that you have filled them evenly with the cake batter.

You don't have to bake them all at the same time. My oven is small and I could bake one pan at a time. Stir up the batter in the "rested pans" before you put them in the oven.

I definitely recommend using Bake-Even Strips, if you have them. Your cakes have to rise a lot and they have to be as even as possible to be able to give you the layers that you need. I did not use anything and I ended up with three bumpy risen cakes, looking like mount Etna ready to explode. They gave me only five perfect layers and a heap of leftover cake to make cake pops or have for breakfast for the rest of the week.

If you do not have the Bake-Even Strips, don't worry. Just cut a few strips of fabric, soak them in cold water and fasten them around the pans with safety pins. This helps to even the temperature out. The batter that's in touch with the hot pan sides doesn't cook faster that the rest of the cake, trapping hot air inside which in the end will escape through the centre, rising and cracking your cake.

Leave the baked cakes in the fridge to stand for a couple of days before you cut them. It will help the cake solidify a bit more, making cutting the layers very easy and almost crumb free, plus it will intensify its flavour. Don't worry, it will still be very moist. This cake gets better day by day!!


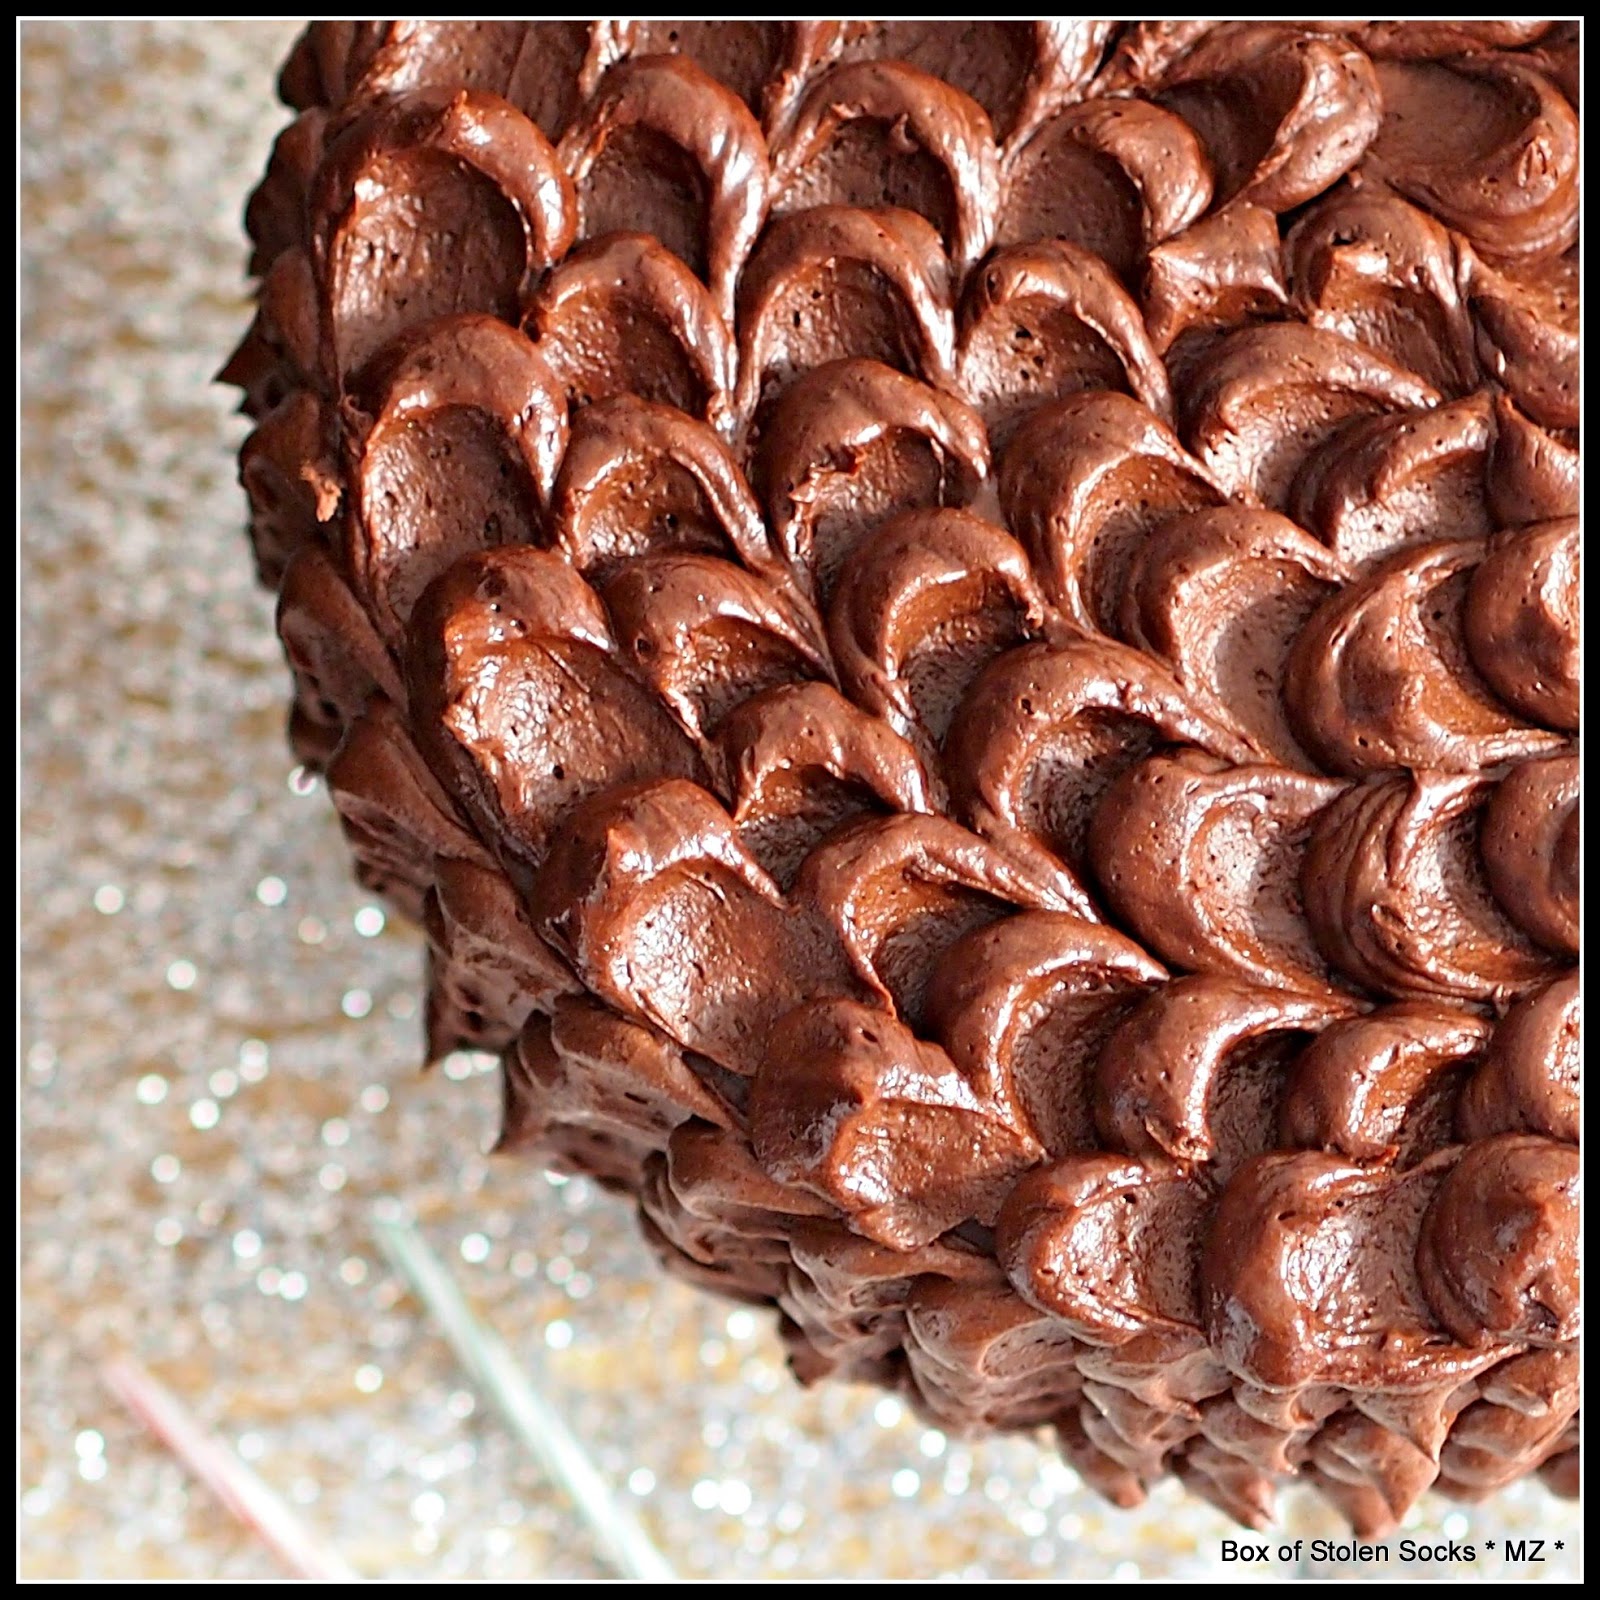
To frost my ubercake I chose the "fluffy cloud" technique. I know it looks elaborate and difficult but trust me there is nothing difficult about. Even a butter cream novice can achieve a professional look with this technique. For a step by step tutorial follow this link to Annie's Eats fabulous blog

As you will see, this technique requires a lot of butter cream. I doubled the original recipe but if you want a more minimal look just half the quantities I am giving you here. There should be enough there for a crumb coat and some basic patterns.


Just one last tip before I give you the recipe. Butter cream can get very soft while you are piping it. It is made out of butter and butter melts quite easy, especially when you are handling the piping bag for extended periods of time. If the weather is hot it is going to happen quicker than when it is cold. So be prepared to put it in the fridge for a few minutes until it firms up enough for you to be able to pipe flawlessly...The whole process might last longer than you expected so allow extra time for decorating you chocolate masterpiece. It will not hurt, and certainly not your back, to pull up a chair, get comfortable and start decorating!!!


~~~~~~~~~~~~~~~
Salted Caramel Chocolate Cake

Adapted from Martha Stewart
Makes 1 9-inch or 23cm cake 
Serves 12 

Ingredients for the Cake
A small cube of unsalted butter at room temperature
3 cups (330gr) all purpose gluten free flour
3 cups (675gr) granulated sugar
1 1/2 (185gr) cocoa powder
1 tablespoon baking soda
1 1/2 tablespoon baking powder
1 1/2 teaspoons coarse salt
4 large eggs, at room temperature
1 1/2 (355ml) buttermilk or 1 1/2 cup of full fat milk and 1 1/2 tablespoon of white wine vinegar (see above for instructions)
1/2 cup plus 2 tablespoons (385ml) sunflower oil
2 tablespoons vanilla extract
1 1/2 cups (355ml) warm water
Ingredients for the Caramel
4 cups (900gr) granulated sugar
1/4 cup (60ml) light corn syrup
2 cups (475ml) heavy cream 
1 teaspoon coarse salt
225gr unsalted butter, cut in cubes
Ingredients for the Chocolate Frosting
1/4 cup (30gr) plus 2 tablespoons cocoa powder
1/4 cup (60ml) plus 2 tablespoons warm water
225gr unsalted butter, at room temperature
1/2 cup (60gr) powdered sugar
450gr dark chocolate, chopped 

Instructions


Preheat your oven to 350F/180C. 

First make the cake. With the small butter cube, butter the bottoms and sides of three 9-inch or 23cm cake pans. Dust them with flour and shake them over the sink to get rid of any excess. 

Shift the flour, cocoa, sugar, baking soda, baking powder and salt into the bowl of your mixer. Beat them on the lowest speed until they combine. Raise the speed to medium and add the eggs, one by one, the buttermilk, oil, vanilla and 1 1/2 cups of warm water. Beat until the batter becomes smooth.

Divide the batter equally among the pans. Don't forget to wrap them with Bake-Even Strips or wet cloth strips (see above)! Bake for 35 minutes or until the cakes are set and a toothpick inserted into the centre of each comes out clean. Let the baked cake cool in the pans for 15 minutes and then turn them out onto a rack and let them cool completely before you refrigerate. 

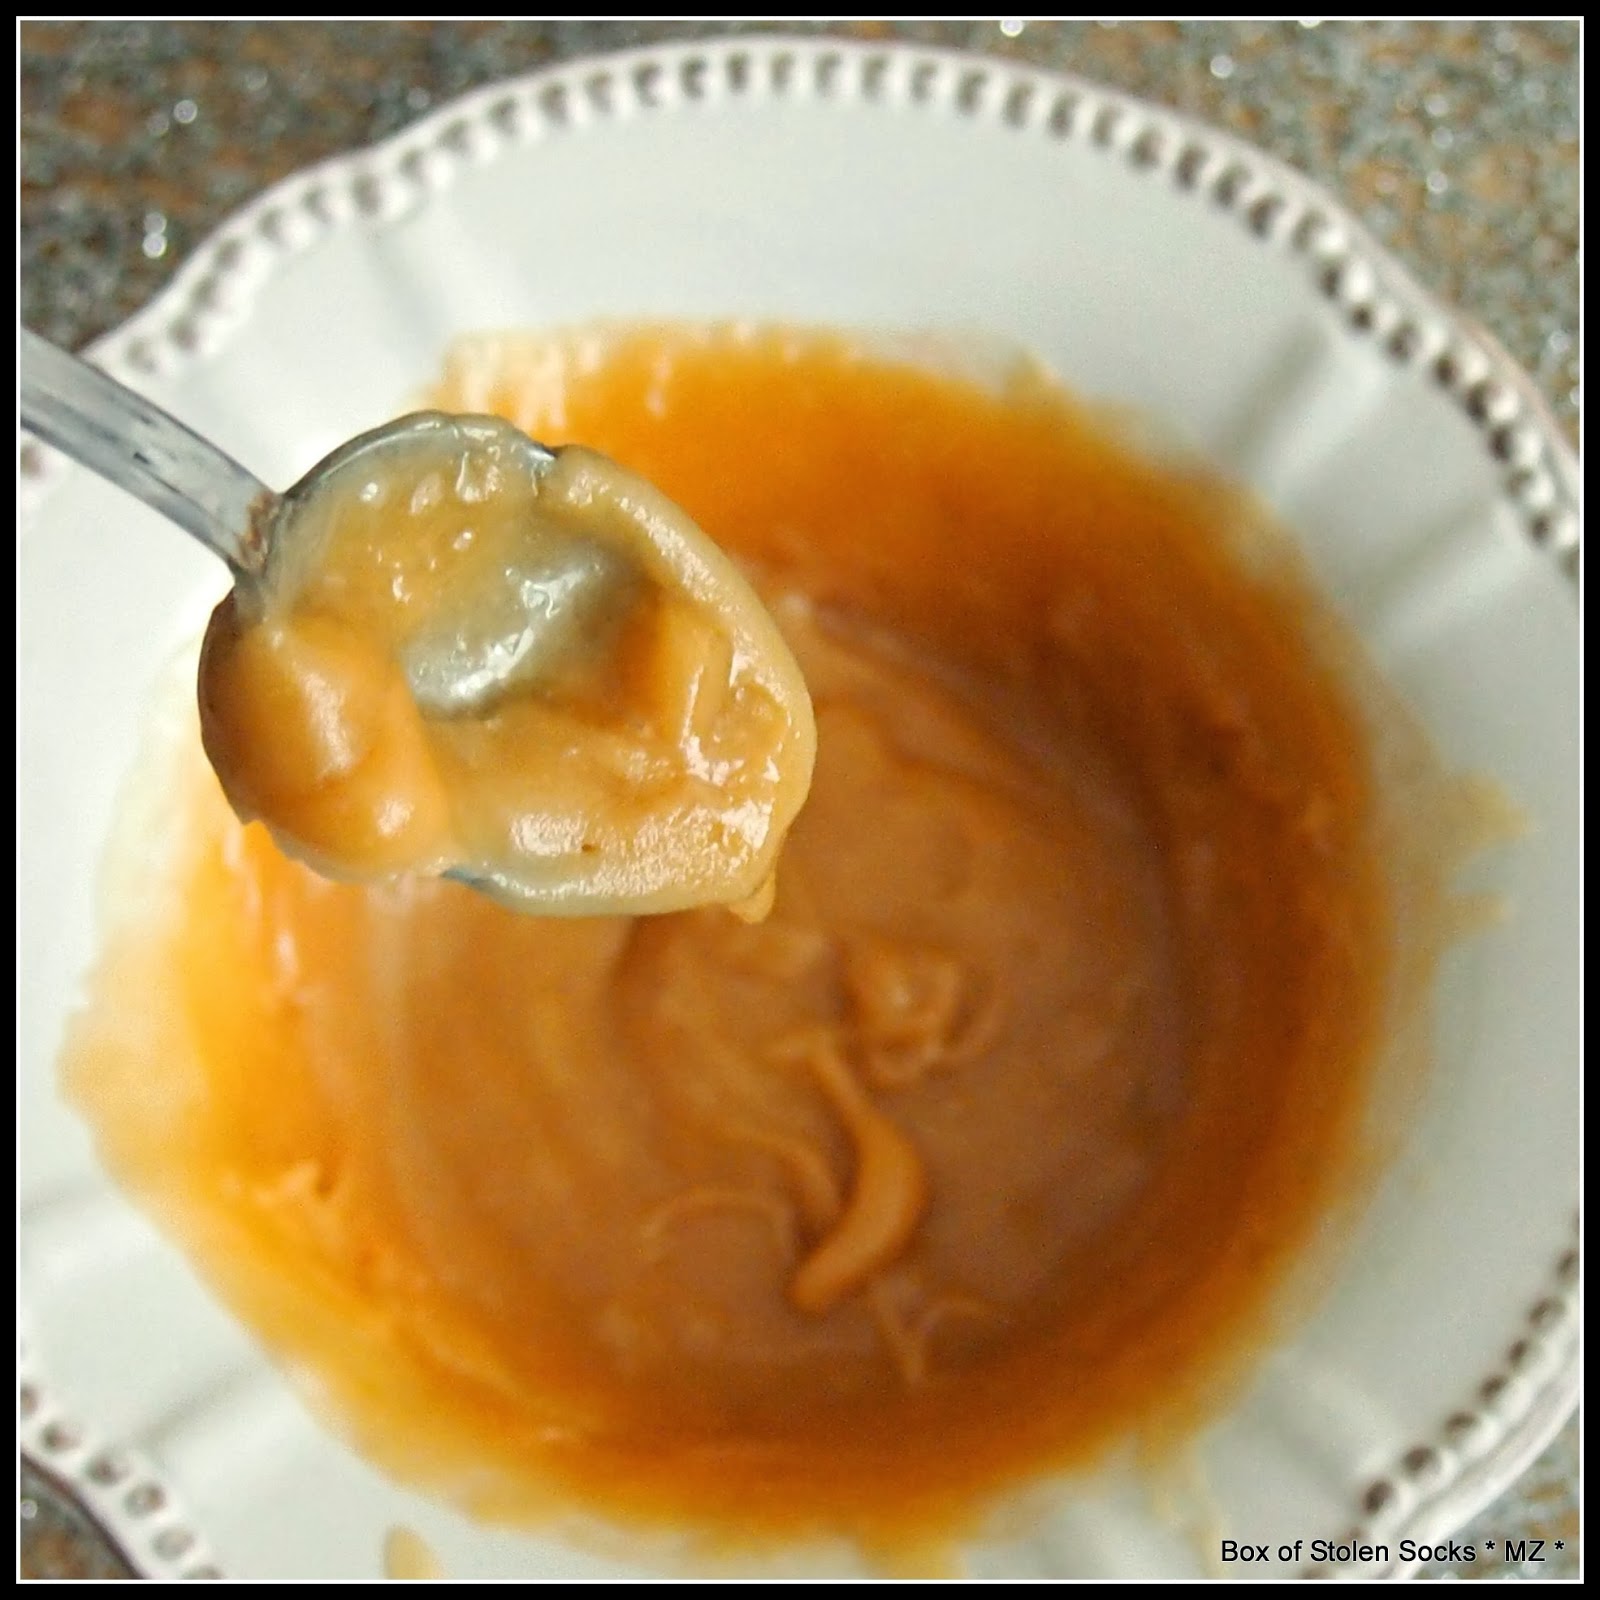
To make the caramel. Combine the sugar, corn syrup, and 1/4 (60ml) cup water in a medium saucepan over high heat. Cook without stirring for about 14 minutes, until the mixture is dark amber. 

Remove from the heat and pour in the cream, carefully because it will spatter. Stir the mixture until it becomes smooth. 

Return to heat and cook for about 2 minutes, until a candy thermometer reaches 238F/ 114C. 

Poor the caramel into a bowl, stir in 1 teaspoon of coarse salt and let it cool slightly, about 15 minutes. Then stir in the butter one cube at a time. Let it cool completely. It can be refrigerated for 3 days.

To make the frosting: In a bain-marie melt the chocolate and let it cool before you start preparing the frosting.

In a small bowl whisk together the cocoa powder with the water until it dissolves. Beat the butter with the powdered sugar and a pinch of salt in a clean bowl with the mixer on medium speed until they it becomes pale and fluffy. Gradually beat in the melted chocolate and the cocoa mixture until they combine. Let it stand for 30 minutes before using.

Assemble the cake: Use a serrated knife and trim the tops to make the cake as level as possible. Cut each cake in half horizontally to make 2 layers. 

Transfer one layer to your serving platter and spread about 3/4 cups of caramel. Put another cake layer on top and repeat with more caramel until you use all your cake layers. Leave the top uncovered. 

Refrigerate for about 1 hour until the cake is set and then frost your cake. 

Deep Fried Caramel Bananas

Tuesday, January 21, 2014


I made a firm commitment to myself. 

Let's call it a "35th birthday resolution". 

I will try to post something new at least once a week. 

Between The Ultimate Gluten Free Cookie Book Bake and Photograph Challenge and my weekly (strike that - bi-weekly) participation to the French Fridays with Dorie online cooking community I will have plenty to keep me occupied.

Since I will be spending a lot more time in this small corner of the blogosphere I decided to take a long, hard look at my blog. My shabby looking Box of Stolen Socks is in desperate need of a "beautifying" intervention. 

But I live in a foreign country were people speak a beautiful language which I have yet to master. Five and a half years in Croatia and I can only manage to greet people good morning, say thank you and basically trick everyone into thinking that I can speak their tongue. I am able to understand about 1/5 of what they say to me provided that they speak slowly and don't use very extravagant words. 

To my defence it is a hard language to learn. At least that's what all my Croatian friends are telling me to make me feel better, I guess.

My rudimentary knowledge of the language is enough to see me through my daily shopping trips to the market, but for more adventurous endeavours like let's say  finding a web designer and working together to create a new look for my Box or even help me move to a self hosting WordPress platform (oh the dream!!!) feels like deciding to climb mount Olympus in my flip flops. 

That's why I decided to spare myself the anxiety and the cost of lingual and cultural misunderstandings and wait until we move back to Athens, in the summer, where I would be able to have equally frustrating misunderstandings with my web designer there. Hey! at least they will be in Greek and I will be able to understand what  they are calling me behind my back and cordially reciprocate :) 

I had given up on the whole beautifying intervention idea and then last week I came across a blog called Something Swanky and a very helpful tutorial about how to create your own blog header using PicMonkey.
I  did not need a lot of persuasion and after a few minutes .... voilà.... I uploaded my very own, custom made header. It is nothing fancy. Very minimalist and clean but I now know how to adjust and redesign it if I need to. Next stop background!!!!

Now you are right to ask me what do bananas and blog headers have in common? Nothing really. I just though of sharing with you my experience with making something for the first time. And I am sure many of you will find this tutorial quite useful. 


So designing my blog  header was not the only thing I did for the first time these past few days. 2014 started with a string of  firsts for me. On day 1 I decided to make a desert that I have never ever thought I will ever make at home. 

Deep Fried  Bananas.

 Deep fried like the ones you have at a Chinese restaurant and say to yourself that this is an indulgence you are only allowed to have once a year! 

Not only did I made them at home, I also made caramel for the first time in my life. It was scary. I was whisking the sugar and the water for more than 10 minutes and then suddenly it started to take colour and I had to act quickly and get it out of the fire before it turned black. I regret to say that I was not so quick enough and I might have burned it a bit --actually a lot--  But ultimately it was a very rewarding experience!

I don't care how cheesie it sound but yes the first time is always difficult. Chances are that you are not going to get everything right and you are going to mess up a bit more but what I learned from my brief encounter with hot sugary water is that if you decide to move past your fear of disappointment and self pity and try again you are going to make it better and better every time you try. My Caramel Bananas are the most delicious proof of that.

Have you done anything new and for the first time in these first 20 days of 2014?


I really don't have to say much about this recipe. Sweet, soft bananas, deep fried in light - did I mention gluten free?? batter and then coated with hot, crispy caramel! Sinful but I could eat this everyday for breakfast, lunch and dinner. 

The original recipe calls for a flour mix made with potato starch, brown rice flour and xanthan gum. I could not find potato starch in my local healthy food store so I used a commercial universal gluten free flour. I have used it before and I was quite happy with its performance. 
~~~~~~~~~~
Deep Fried Caramel Bananas
Adapted from "Seriously Good Gluten Free Baking" by Phil Vickery
Serves 4
Ingredients
100 gr gluten free flour - I used this brand 
1 1/2 teaspoons baking powder - make sure it is gluten free!!! It should say on the packaging!!
300 ml vegetable oil, for frying
4 bananas
2 tablespoons sesame seeds
200 gr sugar
Instructions
In a medium bowl, mix the flour with the baking powder and gradually stir in 150 ml of cold water until you have a thick, smooth paste. It should be thick enough to be able to coat the bananas so it is better to add the water little by little, stir, see the consistency and add as much as you need. 

In a medium but deep saucepan, heat the oil until it is very hot - Phil Vickery in his book suggests that "the oil is hot enough when a cube of bread sizzles and turns golden in a few seconds" - 

Slice the bananas into 4 pieces each and dip them into the batter. Carefully put one or two into the hot oil and deep fry them for about 1 1/2 minutes until they turn golden. Turn them with a clean spoon so that they fry uniformly. 

Pull them out using a slotted spoon and let them drain of any excess oil on kitchen paper. Deep fry all the bananas is batches of 2 or 3 and then prepare for the caramel.

In a small heavy based saucepan, put the sugar an 4 tablespoons of cold water. Stir gently over low heat until all the sugar crystals are dissolved. This might take some time! It is very important not to stop stirring until all the sugar is dissolved!!! Then stop stirring and let it bubble until it turns into a dark golden colour. Then remove from the heat. 

Pick up the bananas with two wooden toothpicks or longer skewers and gently roll them into the hot caramel sauce. Transfer them onto a sheet of baking paper set over a wire rack, sprinkle them with sesame seeds and leave them for a few minutes until the caramel hardens. Serve them with ice cream !

~~~~~~~~~
I am sharing this recipe at

Three Soups to Rule Them All - #FrenchFridayswithDorie

Friday, January 17, 2014


This week's French Fridays with Dorie recipe is Christine's Party Soups. 

Three soups with vibrant colours and taste that knocked my Stolen Socks off! 

There is Asparagus and there is Broccoli and then Red Pepper. I loved all three of them and George did too. He and I both, were taken aback by the intensity and clarity of their flavour. 

Perfection does not have to be complicated. 


It is really amazing how simple these soups are to make. Just put a pound of fresh or frozen asparagus or broccoli and 1 courgette in a pot with 1 or 2 chicken or vegetable stock cubes, salt and pepper and boil until the vegetables are very tender. Then liquidise and hay presto you have a delicious, velvet textured soup full of the natural flavour of the vegetables. The red pepper soup is even simpler, if this is possible; just red peppers, vegetable stock, salt and pepper!

In the original version there is whipped cream that is used to top the soups. I wanted them to be as pure as possible - I desperately need to lose those holiday kilos - and I did not use any cream. I just sprinkled them with a mixture of toasted sesame seeds and crushed walnuts. It cannot get any healthier than that!!

Dorie writes in her book, Around my French Table that the recipes for these soups come from her Parisian friend Christine who has a flair for making simple everyday items look so fashionable like she got them at Dior and she does the same thing with food too. Even though I don't know Christine myself and most probably I never will, having tasted these soups, I could not agree more with Dorie! 

To see how my fellow Doristas liked this recipe visit our French Fridays with Dorie homepage here!


French Fridays with Dorie (FFwD) is an online cooking group where we cook recipes from Dorie Greenspan's cookbook "Around my French Table". We do not publish the recipes on our blogs. You can buy your copy of the book from The Book Depository for free worldwide delivery. For more information about our group and on how to join us click here


Gluten Free Applesauce & Raisin Cookies

Friday, January 10, 2014


Recipe No.2 in Roben Ryberg's book "The Ultimate Gluten Free Cookie Book" is Applesauce & Raisin Cookies. 

For those of you who did not had a chance to read about my decision to set myself the challenge of baking and photographing all the gluten free cookie recipes found in this cookie book you can read about it here, but basically this is it...I decided to bake them all and photograph them because it is really a pity that there are no photographs of the cookies.

I have already baked 4 out of the 125 cookie recipes and I will be posting them here soon. 


On with today's recipe: Applesauce & Raisin Cookies

I have to confess, I had to bake them twice over. I made the mistake I always make. I did not pay attention to the recipe instructions. To my defence I was in a hurry and it was quite late at night so I took a short-cut. I did not shape the dough before I put it in the oven to bake. Big mistake! These cookies do not rise nor spread while they bake and that's how I ended up with half baked blobs of cookie dough which was really tasty but completely un-photogenic. After a brief session of I can't believe I did it again I put the cookies in a tapper-ware container and the next morning I send them off to the food twilight zone that is George's office. 

I am serious, the moment anything edible passes the Embassy's threshold it immediately disappears.  It does not matter if the food I give them is ugly and not picture perfect. George's colleagues are happy to oblige and are my best recipe guinea pigs. 


And these cookies are no just edible. They are delicious! 

George reported  back to me that the cookies disappeared in record time and I decided that I had to bake them again. And this time I had to put more effort in making them look as beautiful as they taste. 

This was no small feat though. The dough is very sticky and the only way to shape it, is, as Roben says in her instructions, by patting it down with wet fingers. 


These cookies are definitely worth baking. 
Sweet raisins, tangy applesauce, and cinnamon are just the perfect combination! Like small bites of apple pie.  

So go ahead find the hidden sculptor inside you and get busy with your fingers! 


~~~~~~~~~~
Gluten Free Applesauce & Raisin Cookies

Adapted from "The Ultimate Gluten Free Cookie Book" by Roben Ryberg
About 40 cookies

Ingredients
1/3 cup sunflower oil
1/2 cup sugar
1 1/2 cups brown rice flour
1 egg
1/2 cup applesauce
1/4 teaspoon baking soda
1 teaspoon baking powder
1/2 teaspoon salt
3/4 teaspoon xanthan gum 
1/4 teaspoon vanilla extract
1 teaspoon ground cinnamon
1/3 cup raisins

Instructions

Preheat your oven to 350F/180C.

Lightly oil a cookie sheet/tray.

In a medium size bowl, combine the oil and sugar and beat well. Add the brown rice flour and beat some more. Scrape down the sides of the bowl at least once during mixing.

Add all the remaining ingredients and mix well.

Drop rounded teaspoonfuls of the dough (it is quite sticky don't worry) onto your prepared tray. Wet your fingertips and press the cookies to 0.5cm/0.25inch thickness.

Bake the cookies for 10 minutes until they begin to brown. Let them cool on a wire rack before serving them.

Enjoy!

I am linking this post to: 


Cheesy Mushroom & Goat Cheese Pasta #FrenchFridayswithDorie

Saturday, January 4, 2014


Hello my dear Doristas! I am back! It's been a while and I missed cooking from our favourite cookbook. I missed so many delicious recipes that our lovely online cooking community has been making and posting every Friday but I will make it up. I promise!

I am so happy that I decided to come back now! Today's recipe is such a treat! Dorie calls it a "Dressy Pasta Risotto" because it is "quick to make, yet chic enough to be served at a fancy dinner party". And even though she calls it a risotto her recipe has nothing to do with rice. It is pasta in a very creamy, delectably cheesy sauce.


Dorie uses butter to slowly sauté one chopped onion, which together with the pasta will boil into the chicken  stock. Then when the pasta is ready and the water almost gone from the pot she adds cream and mascarpone cheese and parmesan. The result is undeniably the most elegant macaroni cheese ever created! Almost like a risotto but not really...


I, of course,  went a bit rogue on this recipe again. Inspired by the "risotto" part of the recipe title I decided to use rice pasta instead of regular pasta. And also because in that way it would be gluten free and George and I would be able to enjoy it without too much guilt - there were very little I could do about the lactose free requirement of our diet so I used lactose free cream and goat cheese but I just could not  stop myself from adding in those tablespoons of mascarpone!! One thing I followed faithfully, was Dorie's suggestion that "it should be generously peppered". Oh my! It was so good! The sweetness of crushed red peppercorns and the spiciness of the green ones really elevated the taste!

Oh yes! It was definitely a good choice to come back to cooking with my online friends today!

To see how my fellow Doristas liked this recipe click here!


~~~~~~~~~~~~~~~
Cheesy Mushroom & Coat Cheese Pasta
Adapted from "Around my French Table" by Dorie Greenspan
Serves 2 as a main or 4 as a side dish
Ingredients
2 tablespoons olive oil
1 onion, finely chopped
3 cups of chicken stock
250 gr rice pasta 
1 pinch dried mushrooms, about 3 - 4 mushrooms
50 gr hard goat cheese, grated
1/2 cup lactose free cream, like soy cream
3 tablespoons mascarpone
Red and green crushed peppercorns
Instructions
Preheat your oven to 180C/350F.
Heat the oil over medium heat in a large saucepan. Add the onion and season. Sauté stirring regularly until it is golden. 
Add the chicken stock and bring to a boil. Add the pasta and let it cook until it absorbs almost of the liquid. You might need to add more depending on the type of pasta you use. 
While you cook the pasta, pour the cream and 2 tablespoons of water into a small pan an add the dried mushrooms and fresh thyme. Bring to a boil and then remove it from heat, cover and let the cream infuse until the pasta is ready. 
When the pasta is ready pour in the cream and mushrooms, let boil for about 2 minutes, add the mascarpone, stir it around until it melts into the pasta and then put the pasta in an oven proof baking dish. Sprinkle with the goat cheese and a pinch of peppercorns and put it in the oven. Bake for no more than 10 minutes or until the cheese melts and takes a golden colour. 
Let it stand for 5 minutes and then serve. Enjoy!

~~~~~~~~~~~~~~~
Linking up to:

Meatballs & Celery Root Rice / Κεφτεδάκια και Ρύζι με Σελινόριζα

Thursday, January 2, 2014

(Συνταγή στα Ελληνικά στο τέλος της σελίδας)
First of all let me wish all of you a very Happy New Year!
May 2014 be the year all your wishes and dreams come true!

And now I am ready to confess...I had way too much sugar over the past few days. I fell completely off the wagon. There were different types of cookies, melomakarona, cakes even caramelised fried bananas. They all helped me forget a promise I made months ago that I will try to give up sugar. Try is the key word here because I did try. For a couple of months I went completely fructose free. I felt very good and I even lost a little weight so why did I allow myself to be pushed out by all these sugary treats? I don't know...too many restrictions maybe. No sugar, no gluten, no lactose no, no, no.... I feel physically bad whenever I eat gluten and that is a fact so I don't care about giving it up. The same goes for lactose, even though I still cannot resist any smelly cheese out there. But sugar no, not yet at least...

Nevertheless, I want to welcome 2014 with two great recipes full of flavours and seriously nutritious. This is my type of comfort food. A warm bowl of Celery Root Rice and a plate-full of  succulent, tasty meatballs.


My love affair with celery root has been well documented on this blog. My Baked Celery Root Chips post is one of my favourite  recipes and also my most popular post! I love the texture of the celery root; not too hard but definitely not mushy either. And its slightly lemony flavour it is enough to make a bowl of rice taste better without adding much else. The meatballs are so easy to prepare and they are unexpectedly juicy and very very savoury. I could easily eat a whole  pan of them.

~~~~~~~~~~~
Celery Root Rice
From Jamie's 15-Minute Meals
Serves 4

Ingredients 
  • 1 celery root, peeled and diced
  • 2 tablespoons olive oil
  • 300 gr basmati rice
  • 200 gr baby spinach
  • A few springs of fresh thyme
Instructions
  • Put 1 tablespoon of olive oil into a casserole pan, add the diced celery root, the thyme, salt and pepper and 1 - 2 tablespoons of water. Put the lid on, turn the heat to high and cook, stirring regularly.
  • In another pan, boil the rice with about 2 cups of boiling water and a pinch of salt for about 10 minutes until ready.
  • Stir the spinach into the celery root and cook it through. When the rice is ready stir it into the spinach and celery. Season and serve.
Meatballs
From Jamie's 15-Minute Meals
Serves 4
Ingredients

  • 200 gr lean beef mince
  • 200 gr pork mince
  • 1/2 a bunch of fresh dill
  • 2 teaspoons caraway seeds
  • 1 shot of vodka
  • 4 teaspoons cranberry jam
  • 4 tablespoons cream
Instructions

  1. Put both beef and pork mince into a bowl, season with salt and pepper and mix them together with your hands. Finely chop the dill and add it to the meat. Mix it all together.
  2. Shape the mince into 20 - 25 small balls. Put 1 tablespoon of olive oil into a hot frying pan. Add the meatballs and the caraway seeds. Turn the balls regularly until they become golden.
  3. Pour the vodka into the pan and then add the jam, the cream and simmer for 1 - 2 minutes. Serve with the celery root rice.
~~~~~~~~~~~
Ρύζι με Σελινόριζα
Από το βιβλίο Jamie's 15-Minute Meals
Για 4 άτομα
Υλικά 
  • 1 σελινόριζα, καθαρισμένη και κομμένη σε κυβάκια 
  • 2 κουταλιές ελαιόλαδο
  • 300 γρ ρύζι μπασπάτι
  • 200 γρ σπανάκι
  • Λίγο φρέσκο θυμάρι
Εκτέλεση
  • Βάζουμε 1 κουταλιά της σούπας ελαιόλαδο σε μια κατσαρόλα και βάζουμε τη σελινόριζα, το θυμάρι, αλάτι και πιπέρι και 1 - 2 κουταλιές νερό. Βάζουμε το καπάκι, ανεβάζουμε τη φωτιά και μαγειρεύουμε ανακατεύοντας τακτικά. 
  • Σε μία άλλη κατσαρόλα βάζουμε το ρύζι μαζί με 2 φλιτζάνια βραστό νερό και μια πρέζα αλάτι και βράζουμε για 10 λεπτά μέχρι να γίνει. 
  • Προσθέτουμε το σπανάκι στη σελινόριζα και μαγειρεύουμε για 2 - 3 λεπτά. 
  • Όταν γίνει το ρύζι ρίχνουμε μέσα το μαγειρεμένο σπανάκι και τη σελινόριζα. 
Κεφτεδάκια
Από το βιβλίο Jamie's 15-Minute Meals
Για 4 άτομα
  • 200 γρ μοσχαρίσιος κιμάς
  • 200 γρ χοιρινός κιμάς
  • 1/2 ματσάκι άνηθος, ψιλοκομμένος
  • 2 κουταλάκια του γλυκού σπόροι κύμινου
  • 1 σφηνάκι vodka
  • 4 κουταλάκις μαρμελάδα cranberry 
  • 4 κουταλιές της σούπας κρέμα γάλακτος
Instructions
  1. Βάζουμε τους δύο κιμάδες σε ένα μπολ και αλατοπιπερώνουμε. Τους αναμειγνύουμε καλά και προσθέτουμε τον άνηθο. 
  2. Φτιάχνουμε 20 - 25 μικρά μπαλάκια.
  3. Βάζουμε 1 κουταλιά ελαιόλαδο σε ένα τηγάνι και προσθέτουμε τα κεφτεδάκια και τους σπόρους κύμινου. Τηγανίζουμε γυρίζοντας τα κεφτεδάκια τακτικά μέχρι να χρυσίσουν. 
  4. Ρίχνουμε τη vodka και την μαρμελάδα, και μετά την κρέμα γάλακτος και αφήνουμε το φαγητό να πάρει μια βράση.
  5. Σερβίρουμε με το ρύζι. 
~~~~~~~~~~~~~